Keep reading to get an in-depth guide on how you can illuminate a bridge using LED facade lighting?
What is Facade Lighting?
The facade is a French word meaning frontside or front facing. Facade lighting is a technique that utilizes various lighting fixtures to illuminate the visible sides of a building. This technique aims to enhance architectural features and improve visibility at night.
Most buildings will have only one facade (or front-facing side) while the other sides are shared with neighboring buildings. But occasionally, you will see buildings and structures constructed so that two or more sides are visible at all times. Such structures, like bridges, will need facade lighting that covers all sides.
How to Illuminate a Bridge using LED Facade Lighting?
Bridges vary by design, size, and location, making bridge lighting a difficult skill to master. Each new bridge will come with its own set of problems and complications. It is up to the lighting designers and engineers to solve these problems.
However, despite the variations from one bridge to another, most bridge lighting projects share the same basic steps. Here are the most important steps involved in any bridge lighting endeavor.
Bridge Lighting Design

A typical bridge lighting design involves several detailed and complex steps. It starts with the planning phase, then leads to complicated calculations and estimations, and finally, work begins on the lighting installations. A good bridge lighting design should follow proper lighting protocol for the best results. Skipping steps and jumping ahead will cause failure and time loss.
The most significant steps of bridge lighting design can be broken down into four sections.
Step 1 – Planning
The planning phase is the simplest one but requires the most work. This step is also the most time-consuming one in the entire process. You must first determine your lighting design and bridge aesthetic before proceeding further. Planning also entails outlining the lighting areas, determining the type of lighting required, and detailing the electrical wiring schematics.
Step 2 – Estimation
Once you have a complete design, it’s time to estimate the number of lighting fixtures required to cover the entire bridge. A typical bridge lighting setup may involve several different light fixtures. Estimating the requirements for a whole bridge is a long and arduous process. Simple mistakes can have a snowball effect on the entire project.
Hence, you must divide the estimation process into smaller, manageable chunks. Estimation is an essential element of the design process and should not be taken lightly. You should add approximately 10% to the estimated numbers as a safety net.
The additional units will not go to waste as they will be placeholders in case some fixtures get damaged during transport or installation. If you have excess leftovers, keep them in storage for potential future repairs and renovations.
Step 3 – Calculation
Estimation is a rough assessment of the required parts and elements for a bridge lighting project. In contrast, the calculation step is the in-depth power consumption analysis, cost analysis, and time management for the given project.
You can look at the individual power ratings for a given light fixture and determine the total peak wattage for all the lighting fixtures combined. Now you can move on to calculating the cost of the entire lighting project. Be sure to account for delays and errors in both electrical and cost calculations.
Time management needs to be calculated with the guidance of an electrical contractor. You should rely on experts whenever possible to avoid any unnecessary issues down the line.
Step 4 – Installation
Once every aspect of bridge lighting has been decided upon, it’s time to start preparations for the installation. First, you must select the appropriate hours for the contractors. Late night and early morning are the least busy times for any given area and are ideal for construction work. Though working at late hours is not feasible for contractors.
Focus on one section at a time, allowing other areas of the bridge to operate as usual. Typically you would install the light fixtures on one side of the bridge and leave the other side intact. After all the lights have been installed on one side, you can move on to the other and repeat. Lighting under the bridge is less intrusive and can be quickly done even while the bridge is in operation.
Essential Factors to Consider Before Choosing a Light Fixture
Beam Angle

The beam angle measures the light spread from the source to a nearby flat surface. Higher beam angles will lead to comprehensive area coverage but will have lower luminance (light intensity). In comparison, lower beam angles will have a narrow coverage area with higher brightness.
You may need to resort to narrow beam angle fixtures for higher brightness. But doing so will require more lights to cover the entirety of the bridge’s length. A narrow beam angle has the disadvantage of producing bright spots resulting in glares. Glares can impair the visibility of a driver and can lead to severe accidents.
Wider beam angles provide soft diffused lighting but will have a shorter light throw. You will also require fewer overall light units for complete bridge coverage. Beam angles are just one aspect of lighting design and should be considered alongside other factors.
Light Spacing

Light spacing is the art of calculating the optimal distance between two adjacent lights. The spacing between two narrow beam angle lights will be much smaller than two wide angled lights.
The goal of light spacing is to place lighting units just close enough that there is a slight overlap of light beams. If the lights are placed too close, their overlapping beams will create bright spots, resulting in glare.
On the other hand, if the lights are placed too far apart, there will be sections with dim or even dark spots. These dark spots can often hide nearby potholes and other unanticipated elements.
Luckily, bridge lighting is quite forgiving to light spacing mistakes. Facade lights are meant to highlight the architectural features of the bridge. This means you will have different lighting solutions in conjunction with facade lighting. The combination of multiple lighting solutions should provide more than enough ambient light.
Since cars have their light source as headlights, it reduces the need for overly-lit bridges.
Light Placement
Light placement is a crucial element of any bridge lighting design. Facade lighting is meant to elevate the look and design of your bridge. Poor placement of lights will lead to unwanted shadows and unflattering lighting conditions. Three sections of a bridge are best suited for facade lighting.
Underside
The underside of a bridge is an open space where you can easily mount your desired lighting. Facade lighting will give a soft under glow to your structure and highlight the complex series of trusses and supports that keep the bridge stable. Bridges on top of open roads will provide some nice ambiance to cars passing under them.
Towers and Trusses
For suspension bridges, you have the option of wiring up lights to the towers or the suspension cables. Towers will particularly benefit from bright wall washer lights, amplifying the sense of scale. For truss-based bridges, lighting options are somewhat limited. Your best choice is a downward-facing LED light fixture mounted to the top of the trusses.
Pathway
Both large and pedestrian bridges can benefit significantly from pathway lighting across their length. Generally speaking, almost any type of lighting will be helpful for path lighting on a bridge. But post lights, in particular, are an excellent example of pathway lighting design.
Facade Lighting Options
So far, we have discussed the various approaches to bridge lighting design. But now, let’s shift our focus to individual lighting options for the facade lighting of a bridge.
Flood Lights
Flood lights are a classic option for a bridge’s comprehensive area coverage. They can be placed near towers and pointed upwards at the bridge base and underside. Floodlights have one purpose: to provide as much light as possible in a small space.
Spotlights
Spotlights are smaller lighting units with a narrower focused light beam. They can be thought of as a smaller version of flood lights. Spotlights are ideal for lighting up key architectural elements from a far away.
You can even use them for grazing light setups. Grazing light is when you place a LED lighting unit parallel to a wall surface, so the light beam merely grazes the wall.
Post Lights
Post lights also known as street lights are already installed on most bridges. They provide sufficient illumination to the road and nearby pedestrians on the walkways. Post lights can be used with other facade lighting options to illuminate the bridge better.
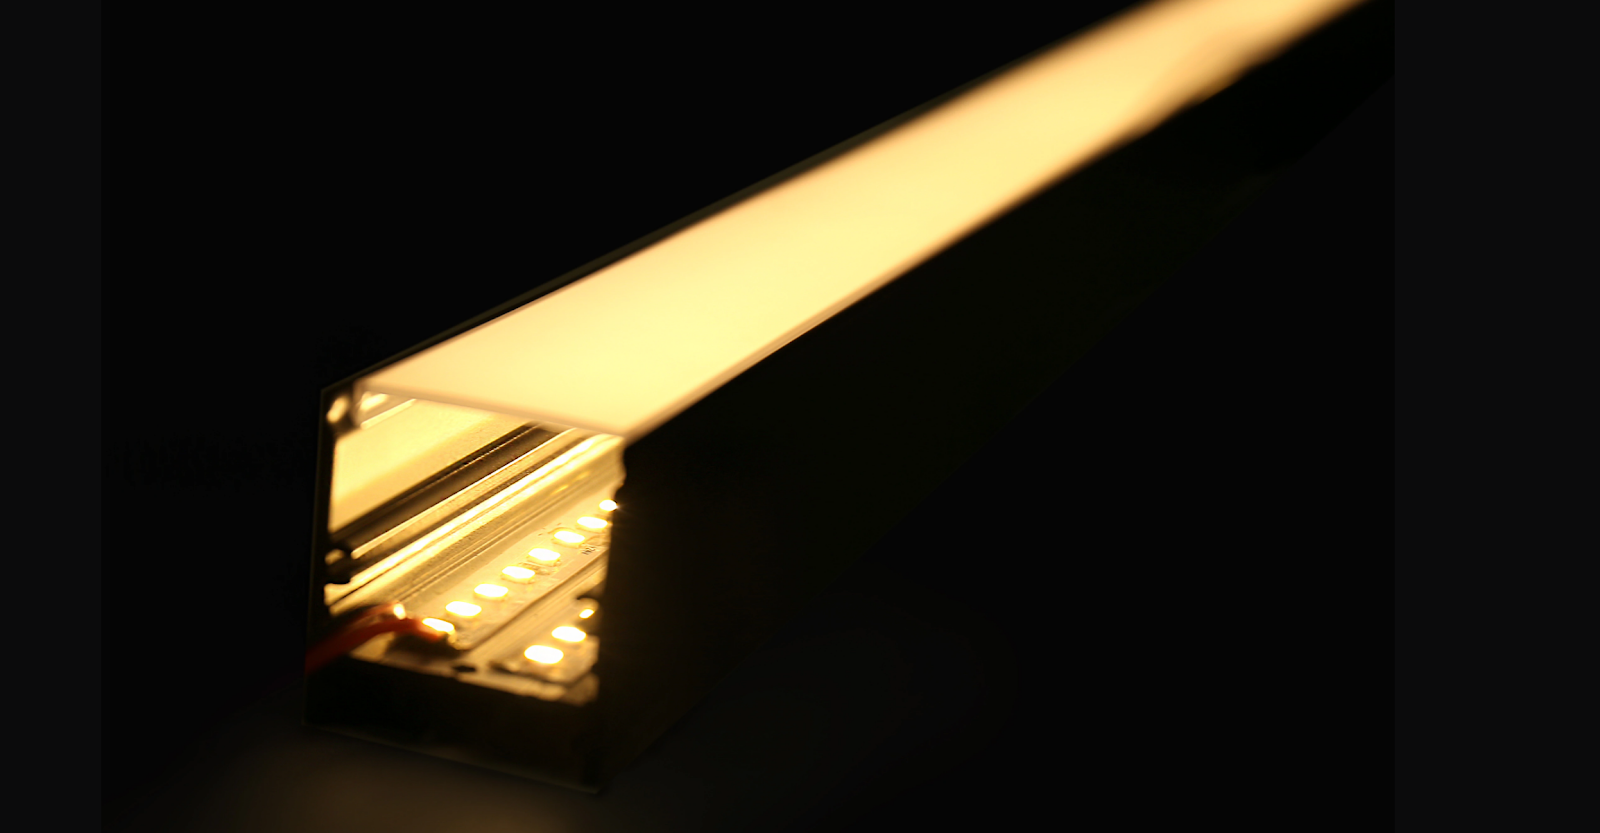
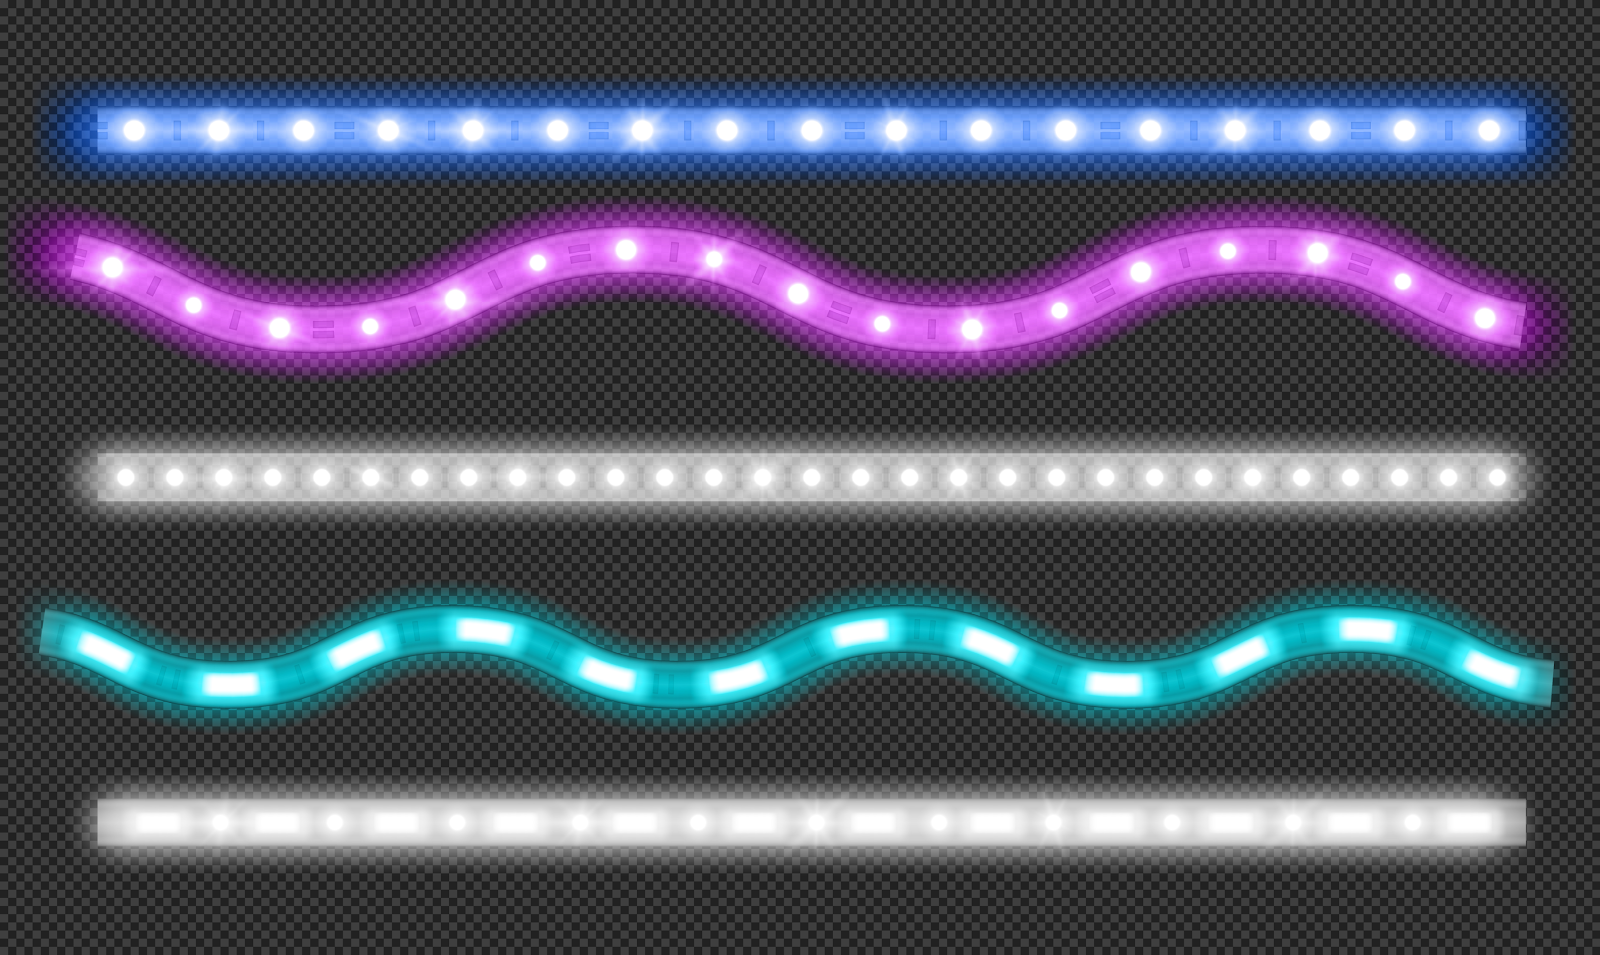
LED Strips
LED lighting comes in several unique form factors, and none are as flexible and versatile as LED strips. You can wrap these lighting strips around architectural elements or anchor them to specific points to create a new light design.
Fluorescent tubes
Fluorescent tube lighting is an excellent option for adding cheap, aesthetically pleasing lights to your bridge. Their only real benefit over other facade delighting options is their relatively low upfront cost.
Additional Tips for Your Bridge Lighting Projects
After reading the article to this point, you have more than enough information to light up a bridge yourself properly. But for those looking for that extra bit of knowledge to push your bridge facade lighting to the next level, here are a few additional tips.
LED Lights
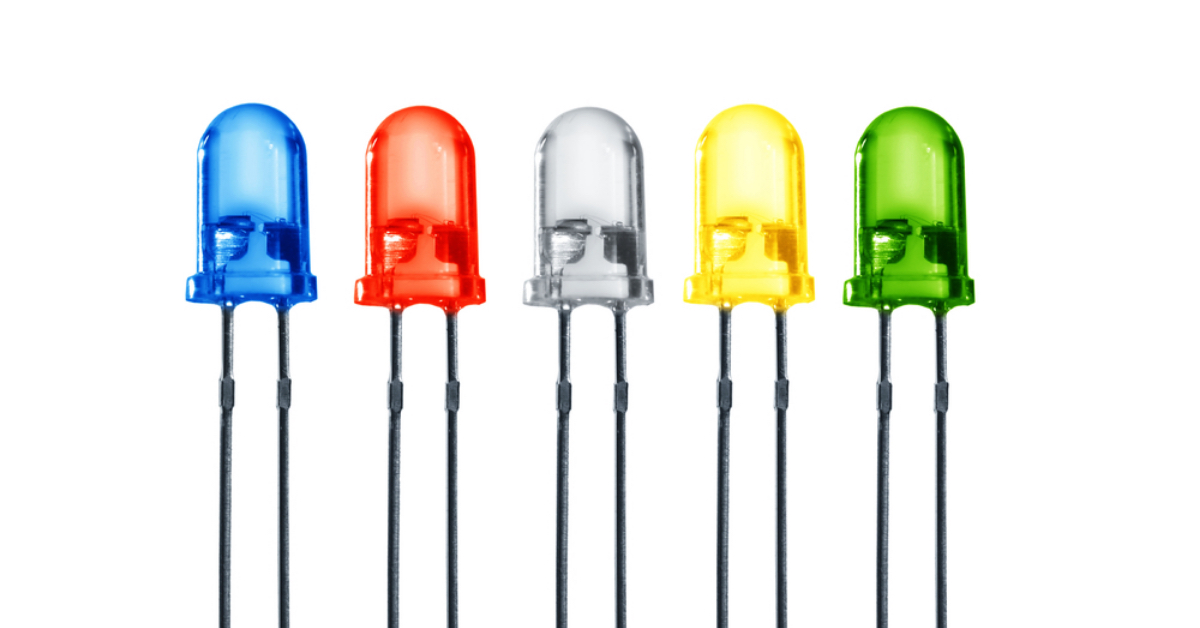
LED lights are the most efficient and essential aspect of bridge lighting. LEDs have several advantages, including small footprint, compact size, energy-efficient, and are easily automated. Even if a bridge appears to be adequately illuminated using fluorescent tubes or incandescent bulbs, it will still lack the design flexibility of LED lights.
Watt for watt, a LED light will have a significantly smaller footprint and have a higher brightness than other lighting options. The only drawback of LEDs is the discrepancy in quality between units.
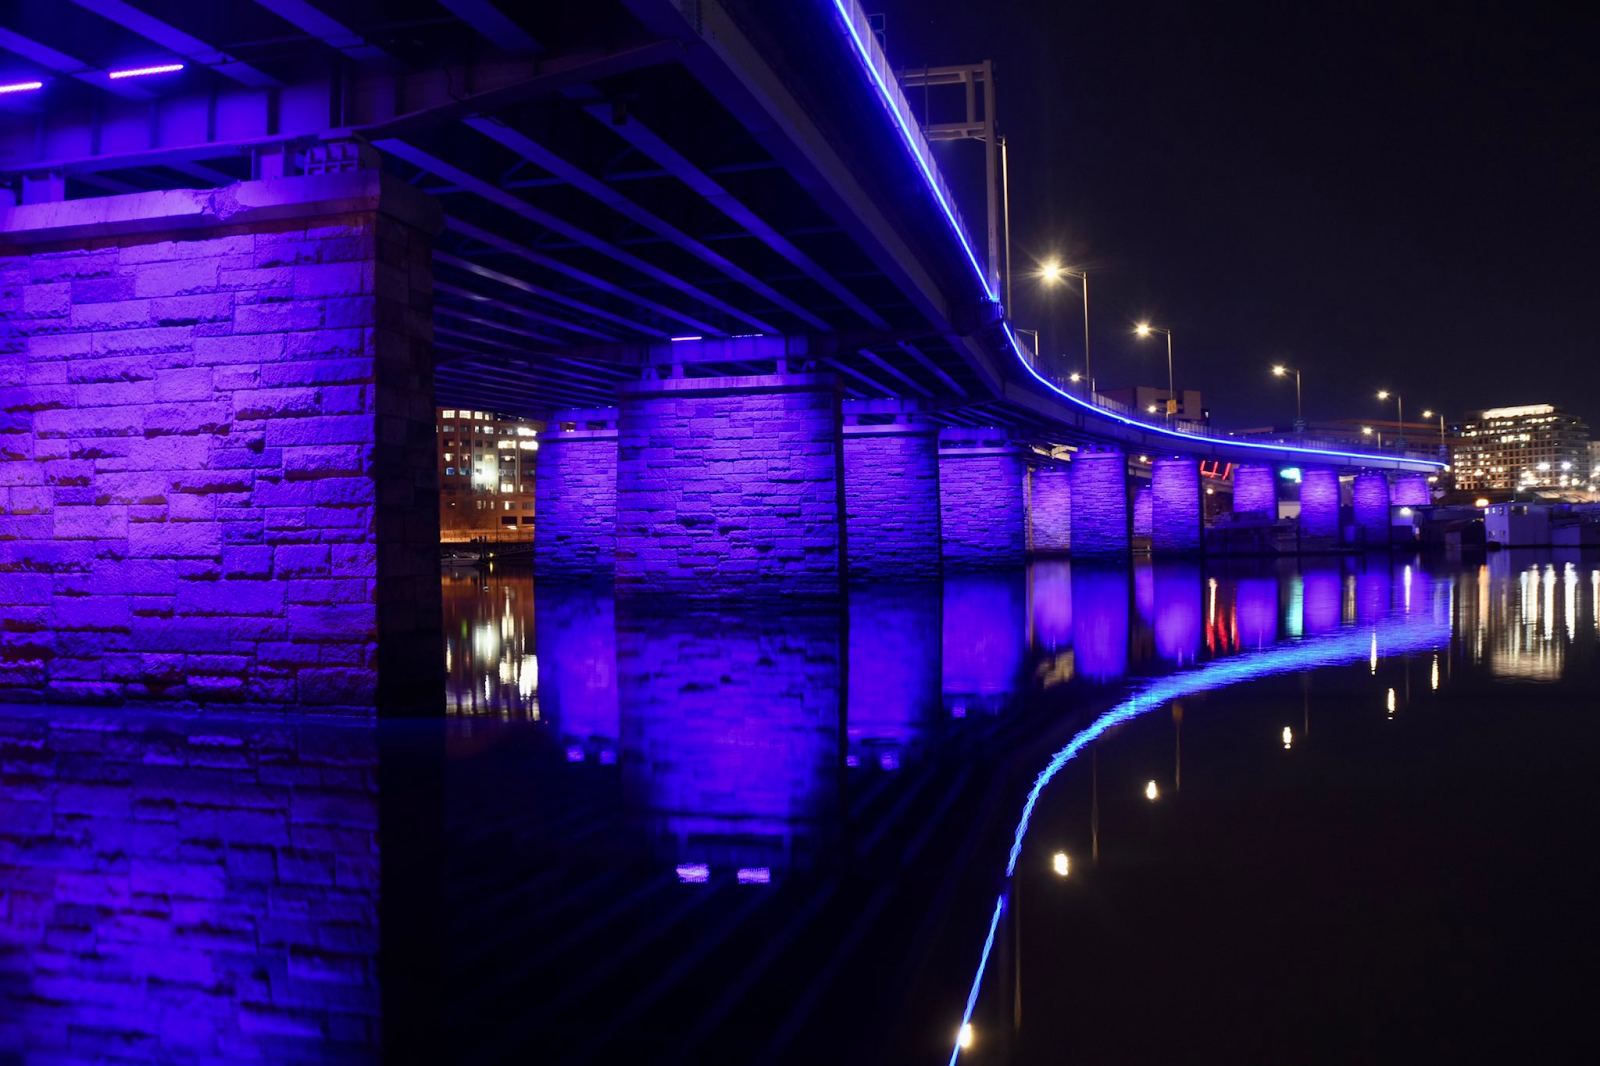
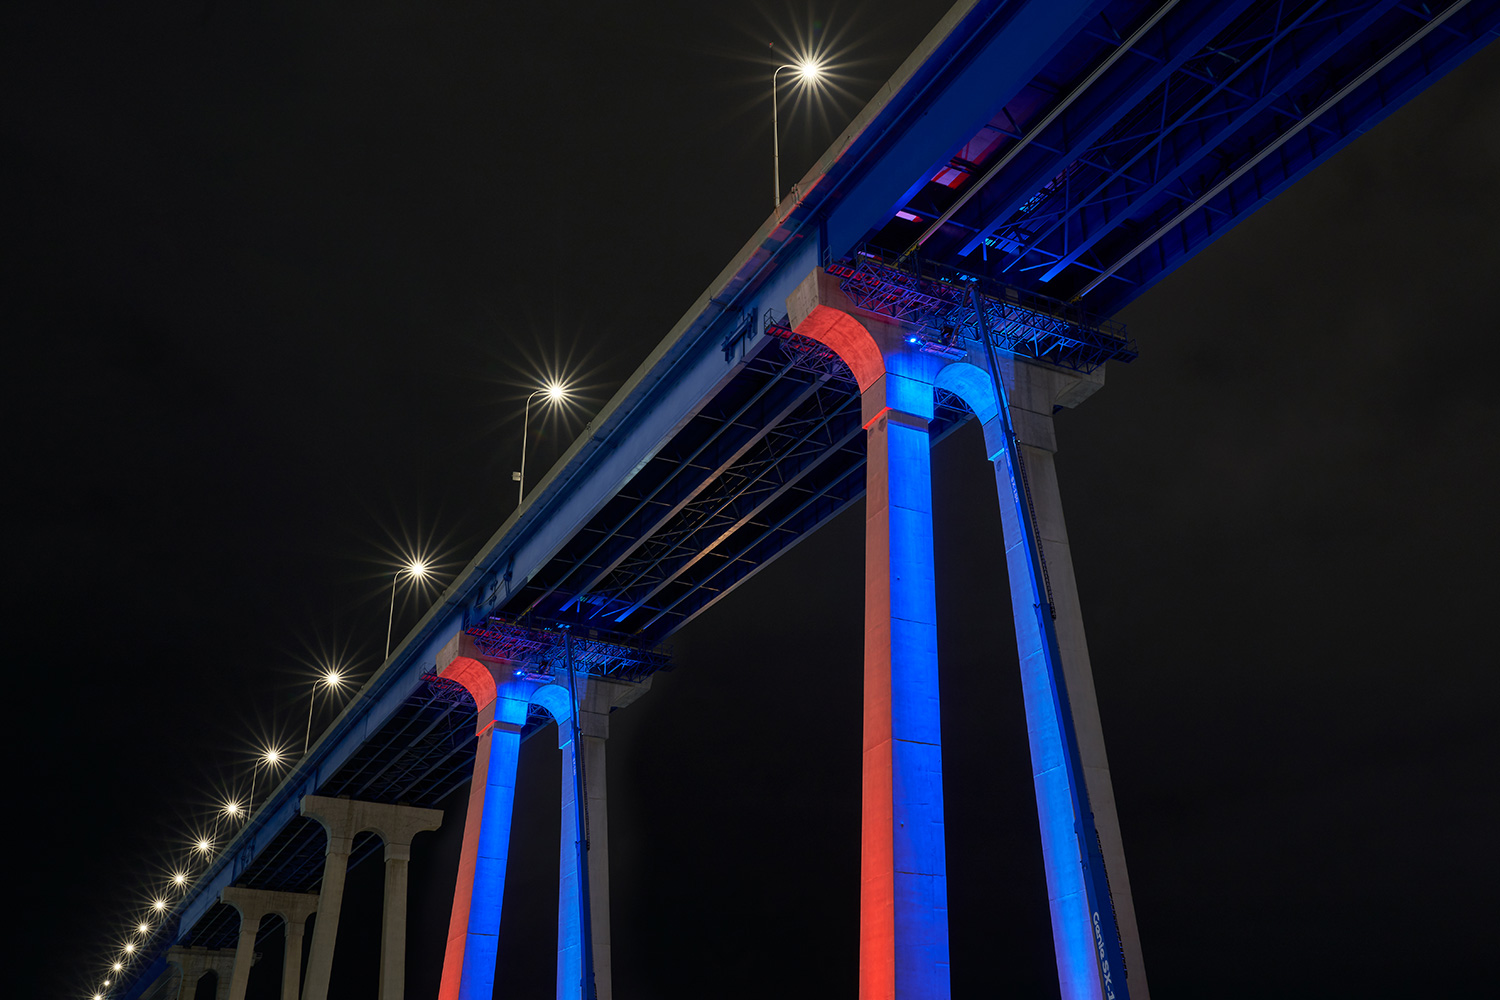
Colored LEDs

If you wish to illuminate a bridge at night, you can add LEDs. Although completely white LEDs are also a good option for specific bridge aesthetics, color lights are generally the better option.
You can use different colors to highlight the various sections of a bridge and create a visual distinction. The shape of certain bridges will benefit from underflow illumination, while others may be more suited to colored spotlights placed at a distance.
Facade lighting bridges is an art. Your goal isn’t just pure illumination of the space but to emphasize the shape of the bridge and highlight each feature. Quality lighting for bridges requires a particular artistic style to bring to fruition.
Water Reflections
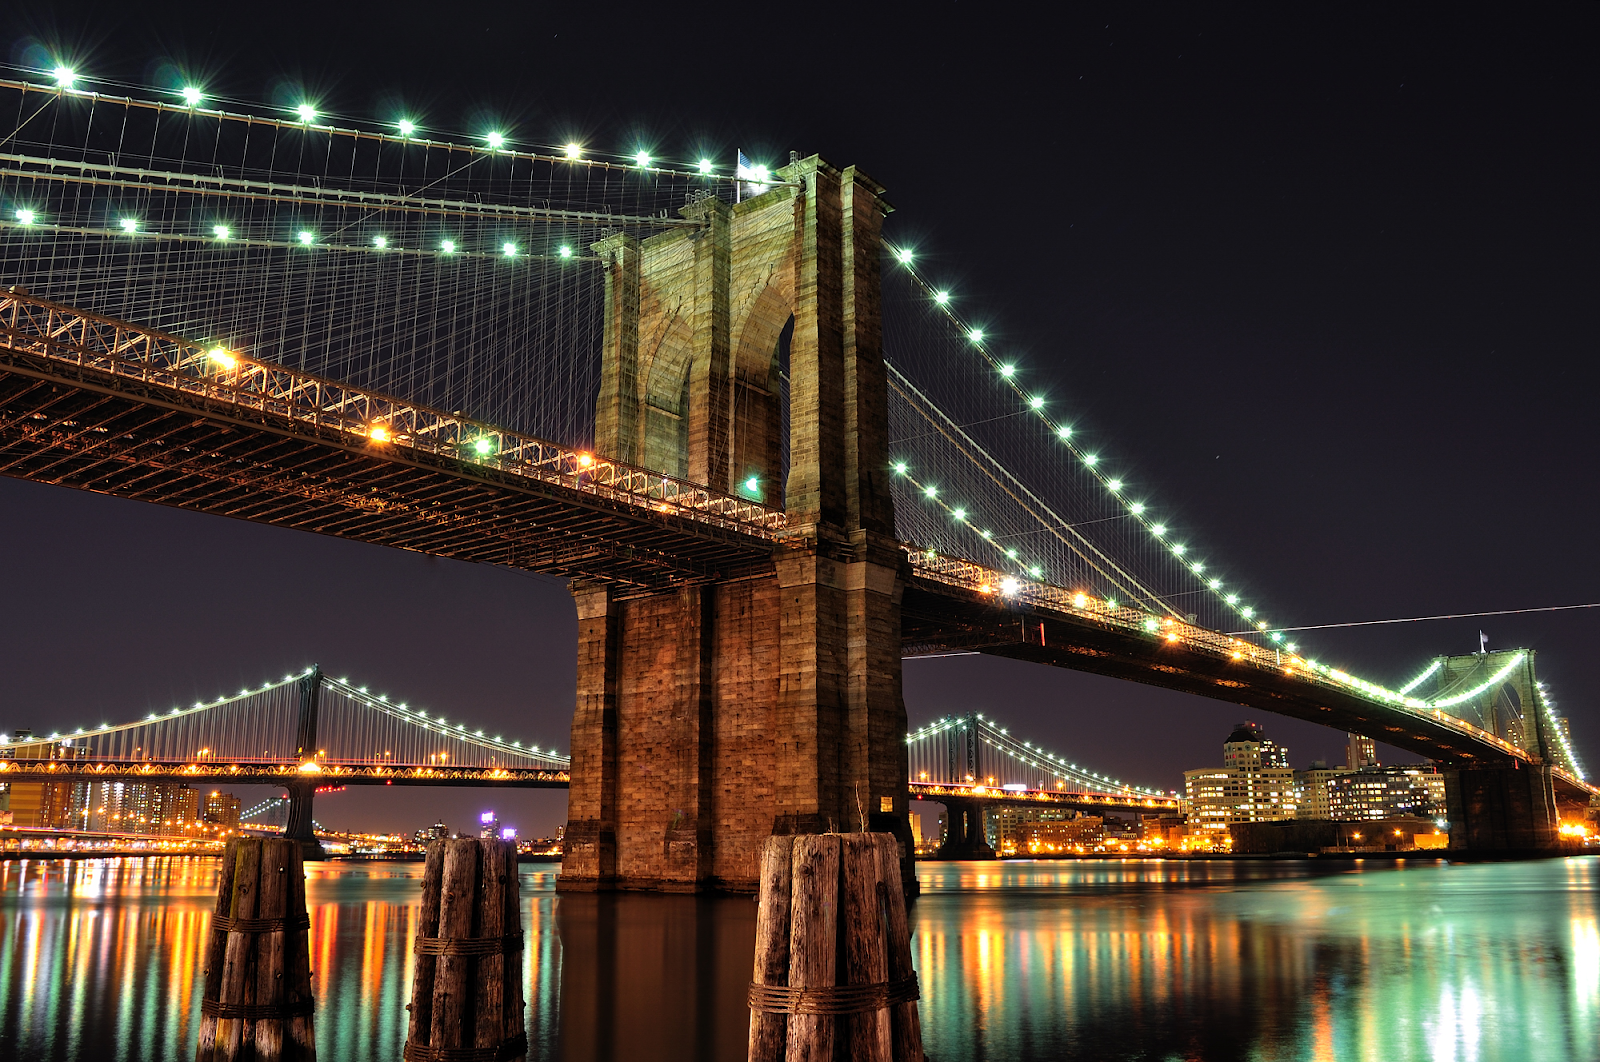
Bridges built over a large body of water benefit from an unlikely source of illumination, the water itself. The water surface reflects nearby lights out into nearby space. Consider the possible effect of light reflecting off the water surface when lighting your bridge.
The Brooklyn Bridge is famously surrounded by water that reflects the light of nearby buildings from its surface.
Diffused Lighting
Diffused lighting is your friend in any sort of facade lighting. Harsh direction light will often result in sharp unwanted shadows on your structure. Diffused lighting doesn’t dim the lights. Instead, it spreads the energy out in all directions. This feature also reduces glare which is particularly useful for outdoor safety.
Diffused lighting is well suited to city bridges where vehicle traffic at night is quite common. It is also helpful in providing uniform lighting for illuminated architecture.
Light Patterns
Instead of even and uniform lighting across your bridge, you should aim for unique light patterns. Good outdoor facade lighting will catch the eye of nearby pedestrians and cars alike. Pick a different color temperature for different sections of your bridge lighting design.
You can also use LED strip lights to produce a simple but vibrant image. The underside of a bridge is a great place to mount your LED strips. Though these lights are commonly used for interior applications, they are just as viable for outdoor settings.
Facade lighting for Bridges does not need to be limited to vehicles and pedestrians. Well-lit bridges can be a visual hub for your city with alluring light patterns. Light patterns help elevate the landscape appearance in your town and make it unique to the rest of the world.
Importance of Bridge Maintenance

The key to long-term quality bridge lighting lies in easy-to-maintain installations. Bridges go under maintenance every few years, where they get a new coat of paint, get tested for rust, and go through electrical maintenance.
Any outdoor installation, even low-level ones, will require constant oversight. For bridges near a big city, this is a relatively easy step. But rural areas often don’t get the same benefits. Choose LED lighting that is easy to install and has some water and dust protection. Spending money now will result in fewer costs over time.
Outdoor maintenance is also directly linked to safety and architecture. Well-maintained bridge lighting will produce the best possible results and boost the overall appearance. Timely maintenance can increase the lifespan of the bridge and lighting components by several years.
Conclusion
Facade lighting is a versatile tool that can help you produce some of the best effects for your bridge lighting project. Though the process seems difficult to execute, it is quite manageable once you break it down into smaller sections.
Ensure the use of proper lighting techniques alongside LED lights. Spend extra time during the planning stage and have contingencies for potential hiccups during the installation phase.
Why Choose RC Lighting for your Bridge Lighting Project?
R&C lighting is one of China’s top architectural LED light suppliers. We are committed to bringing you quality products on time and within budget. Our popular products include Architectural floodlighting, Landscape spotlighting, and commercial Post Lights.
All our products have a standard 5-year warranty, with custom warranties for OEM-designed products. Quality products are the basis for a successful business, and choosing the wrong supplier can lead to unforeseen disasters. Don’t miss out on this unique opportunity and choose a trustworthy brand like R&C Lighting. Contact us Now!


